ESP is only useful when the information is readable. A screen full of boxes, names, distance markers, and item labels does not create an advantage. It creates noise. If you are learning how to use ESP cheats, start with the setting that matters most: use them only in single-player, offline, or fully consent-based private sessions where every participant agrees.
Do not use ESP in public matchmaking, ranked modes, or any session where it violates the game’s rules. Do not attempt to bypass anti-cheat software, evade detection, or interfere with other players. The right use case is controlled play: testing a mod setup, learning a map in an offline environment, managing a difficult survival run, or building a custom session with friends who know exactly what is enabled.
What ESP Cheats Actually Show
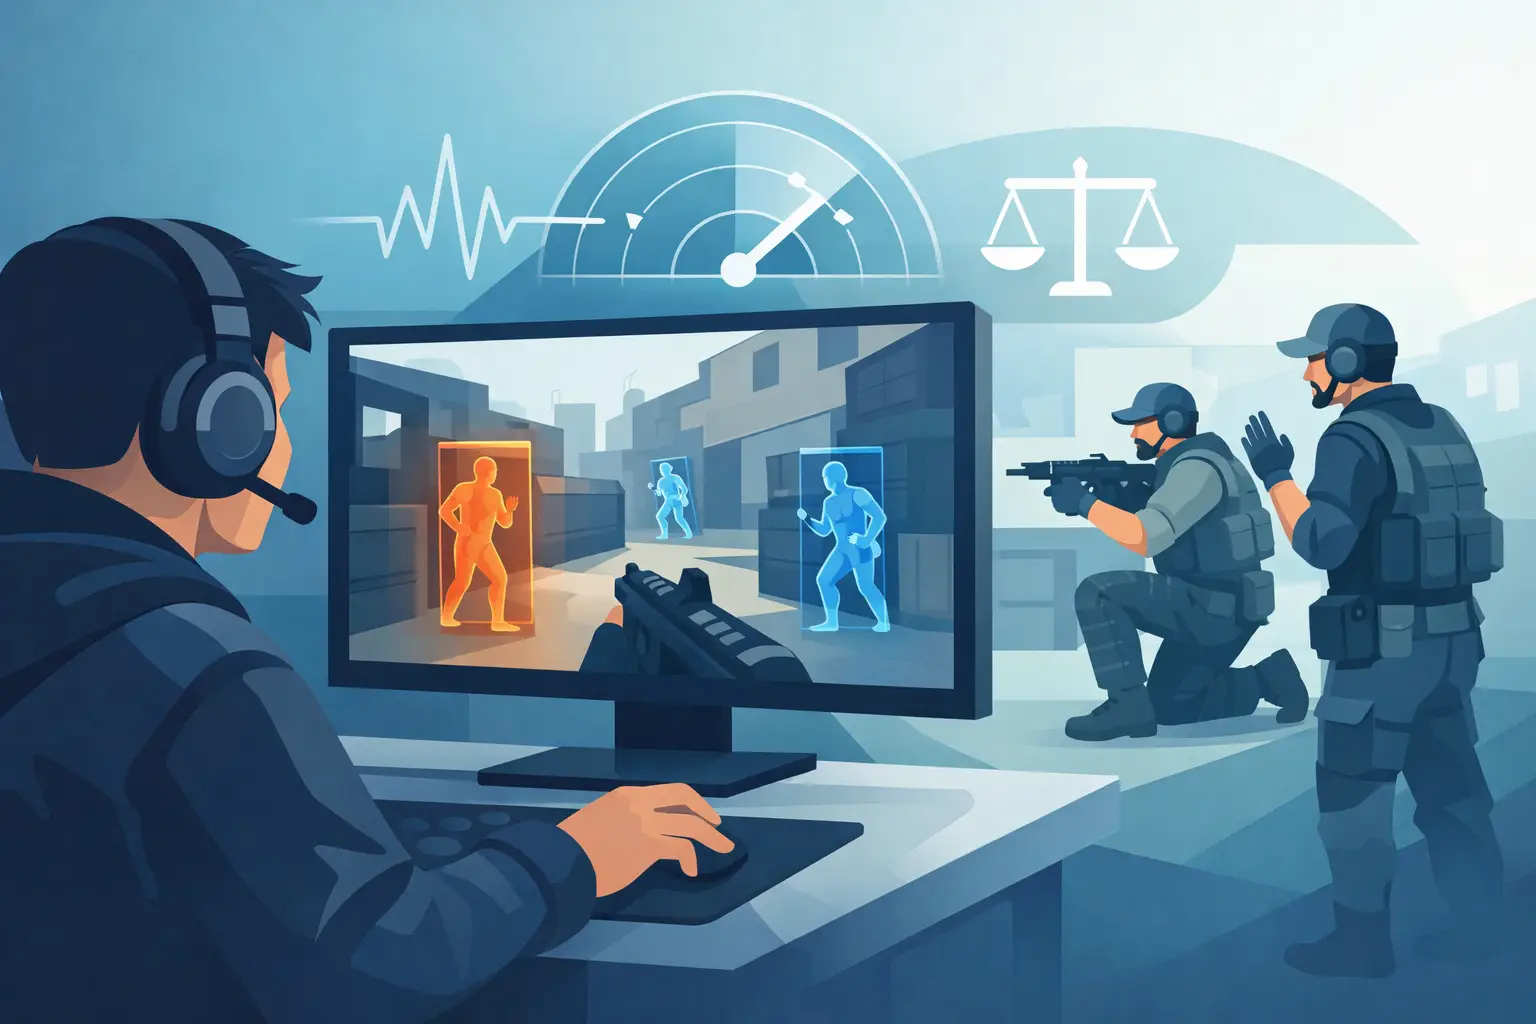
ESP means extra-sensory perception. In game software, it usually refers to visual overlays that display information outside the normal HUD. Depending on the title and approved environment, that can include player positions, AI, animals, loot, vehicles, objectives, containers, resources, or distance readouts.
The value is not simply seeing more. It is seeing the right information fast enough to make a better decision. In a survival game, item ESP can cut down repetitive scavenging. In an offline shooter training scenario, entity labels can help you understand spawn behavior and sightlines. In an exploration-heavy game, objective and container markers can reduce wasted travel.
Every game handles entities differently. A clean setup for a resource-focused survival title will look very different from an offline driving game or a solo action campaign. Configure for the activity in front of you, not for every possible feature.
How to Use ESP Cheats With a Clean Setup
Start in an allowed local or private environment. Launch the game, load into a safe area, and open the trainer or mod menu using its documented control. Before enabling visual features, take a minute to look at the game’s normal HUD. This gives you a baseline for what the overlay should add instead of duplicate.
Turn on one category at a time. Start with the information most relevant to your goal, such as loot containers for a resource route or AI markers for offline practice. Then move around the map for a few minutes. Watch whether labels overlap, whether distance text stays readable, and whether the overlay blocks menus, crosshairs, or interaction prompts.
Avoid enabling every entity category at once. Player, AI, animals, dropped items, weapons, containers, vehicles, objectives, rare resources, and distance labels can become unreadable quickly. A useful ESP configuration is selective by design.
If the menu supports individual filters, keep only the categories you will act on. For example, a solo resource run may need containers, key items, and rare materials. It probably does not need every common pickup, decorative object, or distant AI marker. The fewer irrelevant labels on screen, the faster you can read what matters.
Set a Sensible Distance Range
Distance limits are where most ESP setups improve or fail. A maximum range that is too short makes markers appear late and reduces the feature to a cluttered proximity alert. A range that is too high can fill the screen with labels from places you are not visiting.
Start at a medium distance, then adjust based on the game’s map size and movement speed. Large open areas usually benefit from a longer range for vehicles, objectives, or high-value resources. Dense interiors work better with tighter limits because walls, floors, and nearby rooms can stack labels on top of each other.
Use different limits for different categories when the menu allows it. Objectives can remain visible from farther away. Common loot should stay close. Rare resources may justify a wider range in a solo session because they are the reason you are searching in the first place.
Prioritize Labels Over Visual Noise
Boxes, skeletons, tracers, health bars, and filled highlights can all be useful in the right environment, but they are not always necessary. In many offline or consent-based sessions, a simple name and distance label is enough.
Start minimal. Enable names, distance, and one relevant object type. Add health or state indicators only when they support your objective. If you are testing AI behavior in a local session, health information may be useful. If you are collecting materials, it is probably not.
Color settings should be functional, not flashy. Use separate colors for categories that demand different actions. For instance, high-value items can use one color, standard containers another, and objectives a third. Keep colors high contrast against the game’s usual environments. Dark green labels disappear in forests. Bright white labels may wash out against snow or menus.
Match the ESP to the Game Type
A one-size-fits-all configuration wastes time. Set the overlay around the game loop you are actually playing.
In solo survival games, ESP is most practical for resource management. Use filters for food, medicine, crafting materials, containers, and nearby threats. Keep the range moderate so the display supports route planning without turning every direction into a wall of text. When exploring caves, buildings, or dense forest, reduce clutter first. Interior spaces rarely need long-distance markers.
In offline action or shooter practice, focus on entity names, distance, and basic state information. Use that data to study positioning, navigation paths, and map flow. Skip visual options that cover the center of the screen or make normal aiming practice harder. The purpose of a controlled practice environment is better awareness, not a distorted display.
In racing and progression-focused games, item and objective markers are generally more useful than entity-heavy overlays. Keep the screen clear around checkpoints, route indicators, and speed information. If ESP competes with the driving HUD, it is configured badly.
For sandbox and building games, use object filters to locate materials or points of interest, then turn the overlay down once you reach the area. Leaving every object visible while building or managing inventory adds friction with no payoff.
Test Changes One at a Time
Changing ten settings at once is the fastest way to lose track of what improved the overlay and what broke it. Make one adjustment, play for a few minutes, then keep or remove it.
A practical test looks like this: choose a familiar route, enable one item category, set a distance cap, and run the route normally. If the display points you toward useful decisions without constantly pulling your attention away from the game, it is working. If you keep stopping to decode labels, narrow the filters or lower the range.
Pay attention to performance as well. Visual overlays can become heavier when they are tracking large numbers of entities, especially in crowded maps. If frame rate drops, reduce long-range object categories before changing everything else. Common pickups and distant decorative entities are usually the first settings worth disabling.
Keep the Session Fair and Stable
ESP should never become an excuse to disrupt players who did not agree to it. Keep it out of public lobbies, competitive playlists, leaderboards, shared economies, and any server with rules against modified clients. Private does not automatically mean permitted either. Get clear agreement from the host and everyone involved.
Avoid combining visual tools with settings that alter another player’s experience, such as forced movement, kicks, griefing actions, or other disruptive features. Consent-based sessions work because the rules are clear before the session begins, not because someone discovers the setup after joining.
Patch changes can also affect game behavior and compatibility. If a game updates, do not assume old settings still behave the same way. Test in a local or private environment first. If something looks wrong, disable the feature and wait for documented support or an updated build rather than forcing it.
Build a Preset You Can Read
The best ESP setup is rarely the most aggressive one. It is the one you can understand in a split second. Build a light preset for general exploration, a resource preset for gathering, and a practice preset for controlled combat or AI testing. Keep each preset focused on a single task.
Once the screen starts feeling crowded, cut settings instead of adding more. Clear information wins. Use ESP as a controlled visibility tool in permitted play, then let the game itself stay at the center of the experience.