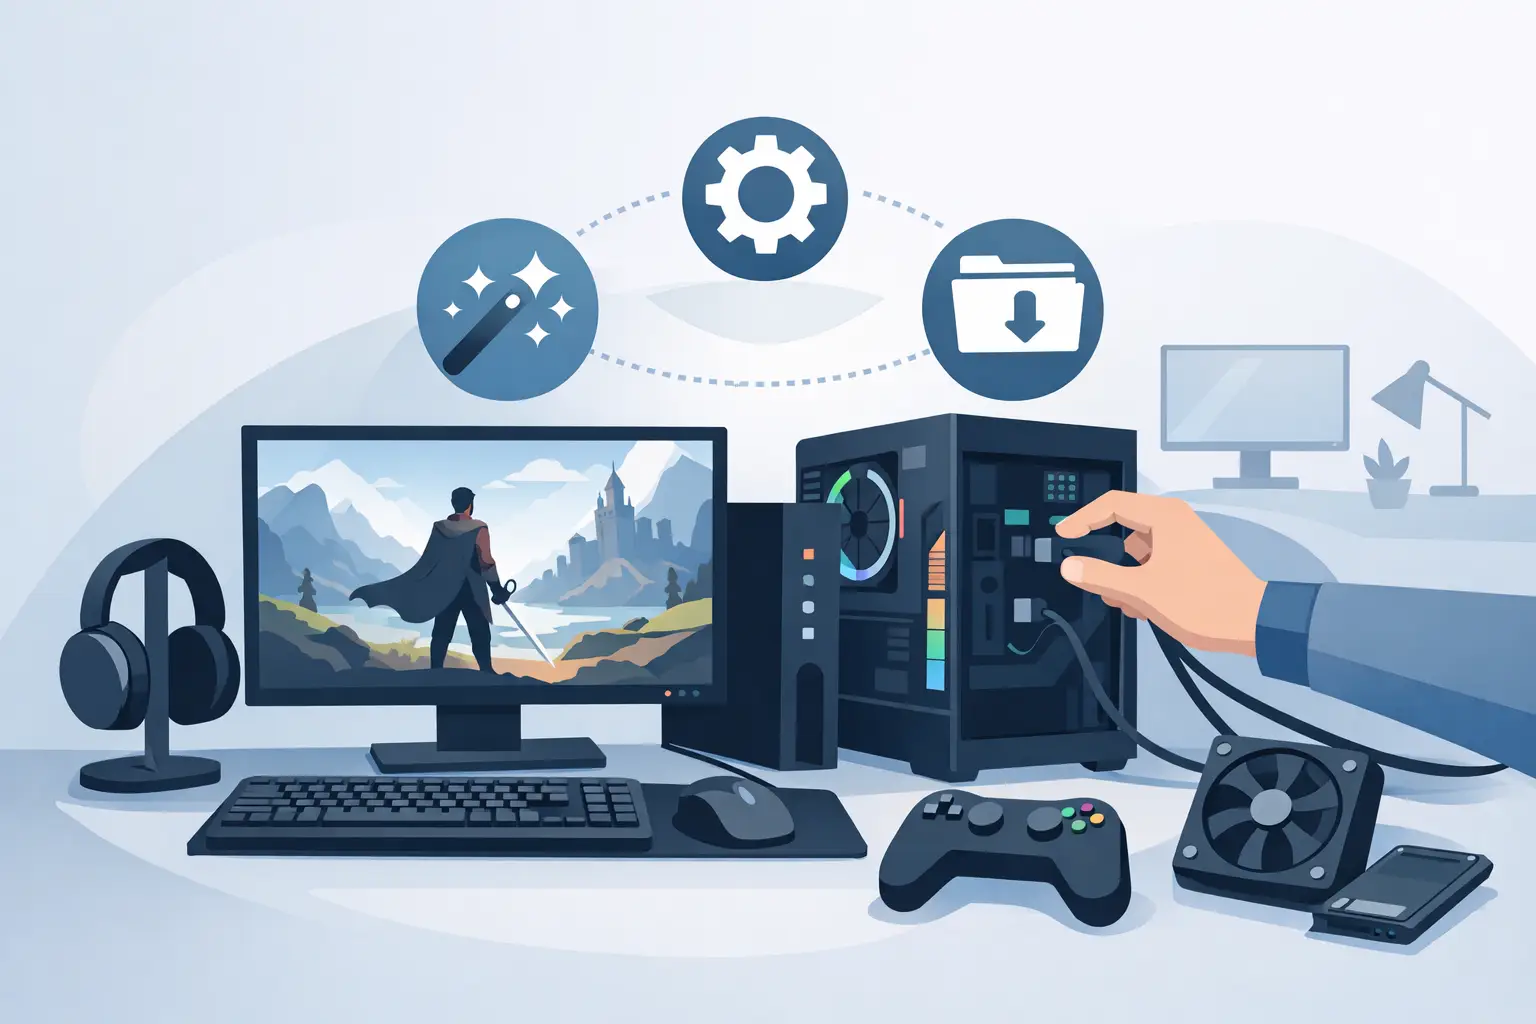
A bad mod setup does not fail quietly. It corrupts saves, breaks launches, tanks performance, or gets you removed from an online session. This PC game modding guide is built for players who want more control without wasting a night fixing conflicts. Start clean. Test one change at a time. Keep multiplayer rules separate from single-player freedom.
Start With the Game You Actually Own
Before downloading anything, confirm the exact game version, platform, and game mode you plan to use. A mod built for a Steam release can behave differently on a Microsoft Store or Epic Games installation. A current patch can also make last week's working file obsolete.
Check whether the game supports official modding, uses a dedicated mod manager, or has an active single-player trainer scene. These routes are not interchangeable. Official mods tend to be easier to maintain and less likely to break core files. Script mods, texture packs, loaders, and trainers can offer more control, but they also demand more attention after each update.
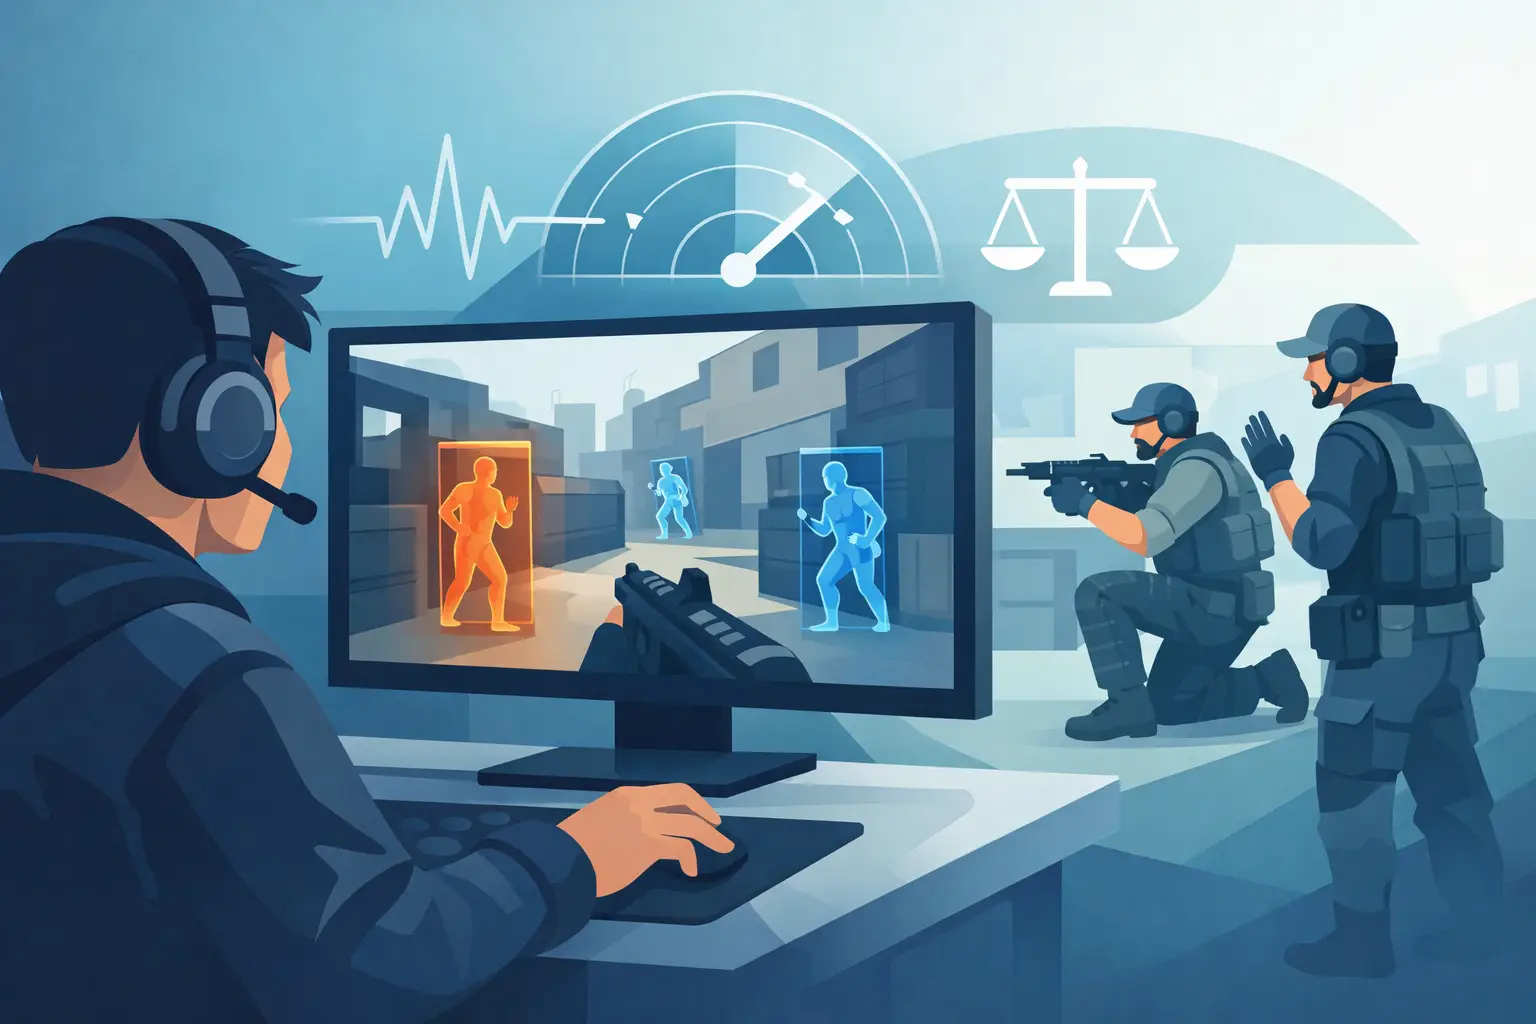
The first rule is simple: keep modified play offline or in an explicitly permitted private environment. Do not take gameplay-altering tools into public multiplayer, ranked modes, protected servers, or games with rules that prohibit them. Anti-cheat systems and server-side checks exist for a reason. A feature that is harmless in a solo sandbox can create bans, resets, and account problems online.
PC Game Modding Guide: Build a Clean Base First
Do not start modding on top of a broken install. Verify the game files through your launcher, launch the game once without modifications, and confirm that your save loads normally. If the base game crashes, a mod manager will not fix it.
Create a restore point for the game folder before major changes. Copy your save files somewhere outside the game directory too. For long games, keep more than one backup. A save made after installing a large overhaul may not load correctly once that overhaul is removed.
It also helps to keep a plain-text change log. Write down the mod name, version, install date, game version, and what it changes. This takes seconds and saves serious time when an update breaks your setup. If you install six things at once, you will not know which one caused the crash. That is not bad luck. That is bad testing.
Use a separate profile or separate game folder when the tool supports it. One profile can stay close to vanilla for achievements, co-op, or troubleshooting. The other can be your heavily modified single-player build. Separation gives you control when a patch lands.
Choose the Right Type of Mod
Not every mod needs the same level of access. Visual upgrades, interface improvements, audio replacements, and quality-of-life tweaks are often low-risk additions. They usually have a narrow purpose and are easy to remove.
Gameplay overhauls are different. They may change enemy behavior, progression, crafting, loot tables, physics, or mission scripting. These can make a game feel fresh, but they are more likely to conflict with each other and with future updates. Read what a mod edits before assuming it will coexist with everything else.
Trainers and mod menus are a separate category. In single-player games, they can provide direct control over resources, XP, movement, spawning, mission state, or difficulty. They are useful when you want to skip a grind, test a build, recover from a bugged quest, or turn a survival game into a sandbox. The trade-off is that direct edits can permanently change progression or destabilize a save if used carelessly.
For players who prefer less manual setup, a game-specific loader-based trainer can be more practical than assembling scripts from multiple sources. DarkOffset focuses on that kind of direct, ready-to-use workflow for supported PC titles. Even then, check compatibility after game patches and keep those tools out of prohibited online modes.
Install One Layer at a Time
The fastest way to create a mess is stacking texture packs, script frameworks, reshades, overhaul mods, and trainers before testing the game. Install one component, launch, load a save, test the intended feature, then move to the next component.
Pay attention to installation instructions. Some mods belong in a dedicated mods folder. Others require a launcher setting, a script extender, a plugin directory, or a specific load order. Dragging files into the main game folder because it seems convenient is how clean installs disappear.
Avoid replacing original files unless the mod author specifically requires it and you have a backup. Loose-file mods are usually easier to isolate and remove. If a tool asks you to disable security software, download extra executables from unknown mirrors, or run unrelated installers, stop. Convenience is not worth handing over your system.
A clean setup normally includes only what the mod actually needs: the mod file, its documented dependency, and a manager or loader where applicable. Extra "fix" packs often create more conflicts than they solve.
Load Order Is Not Optional
When multiple mods alter the same asset, the one loaded later usually wins. That can be useful when a compatibility patch is designed to overwrite two parent mods. It can also silently remove features when files compete.
Read each mod's requirements and incompatibilities. If two mods both rewrite combat AI, inventory menus, weather systems, or the same character model, expect a conflict unless the authors say otherwise. Compatibility patches should load after the mods they are meant to reconcile.
Keep your load order intentional. Core frameworks and dependencies normally load first. Large gameplay mods follow. Add-ons and compatibility patches come later. Cosmetic replacements depend on the manager and game, but they should be tested after the systems they rely on are stable.
Do not chase a perfect 200-mod list if your goal is simply better UI, faster progression, or a few more options. A smaller build that launches every time is stronger than a massive list that needs constant repair.
Protect Your Saves and Progression
Save editing, item spawning, currency changes, and quest skips can be useful, but they are not reversible in every game. Before touching progression values, make a manual save with a clear name. Test changes on a duplicate save when possible.
Be especially careful around tutorials, mission triggers, ownership flags, and story unlocks. Giving yourself a weapon is usually low impact. Marking a mission complete before its scripts fire can leave NPCs missing, doors locked, or future objectives unavailable.
If you use a trainer for money, XP, skill points, or resources, apply small changes first. Confirm the game recognizes the value, save, quit, and reload. Huge numbers can exceed internal limits or drain the challenge from a game faster than expected. Control is the point. Breaking the entire progression loop usually is not.
Achievements are another variable. Some games disable them when mods are detected. Others do not. If achievements matter to you, keep a separate vanilla profile and do not assume a modded run will count.
Update Discipline Keeps Mods Working
Game patches can change executable files, memory layouts, scripting behavior, asset formats, and anti-cheat policies. A mod that worked perfectly yesterday may need an update today. Do not force outdated files into a newly patched game and hope for the best.
When an update arrives, launch the vanilla game first. Then check whether your key framework, manager, trainer, or overhaul has confirmed support for that version. If support is not ready, wait. Rolling back a game version can work for offline single-player setups, but it adds another maintenance task and may prevent normal online access.
When something fails, troubleshoot in order. Remove the most recent change, test a clean profile, check the game version, and review the crash log if one exists. Reinstalling everything should be the last move, not the first. Most failures come from one outdated dependency, a wrong folder, or a conflict between two mods.
Know When to Stop
Mods should make the game play the way you want. They should not turn every launch into technical support. If a feature is unstable, wait for an update or remove it. If a trainer changes more than you intended, restore the backup. If a server or game mode forbids modifications, leave the tools off.
The best modded setup is not the biggest one. It is the one you can launch, understand, update, and remove without losing your progress. Keep it clean, keep it controlled, and let every addition earn its place.